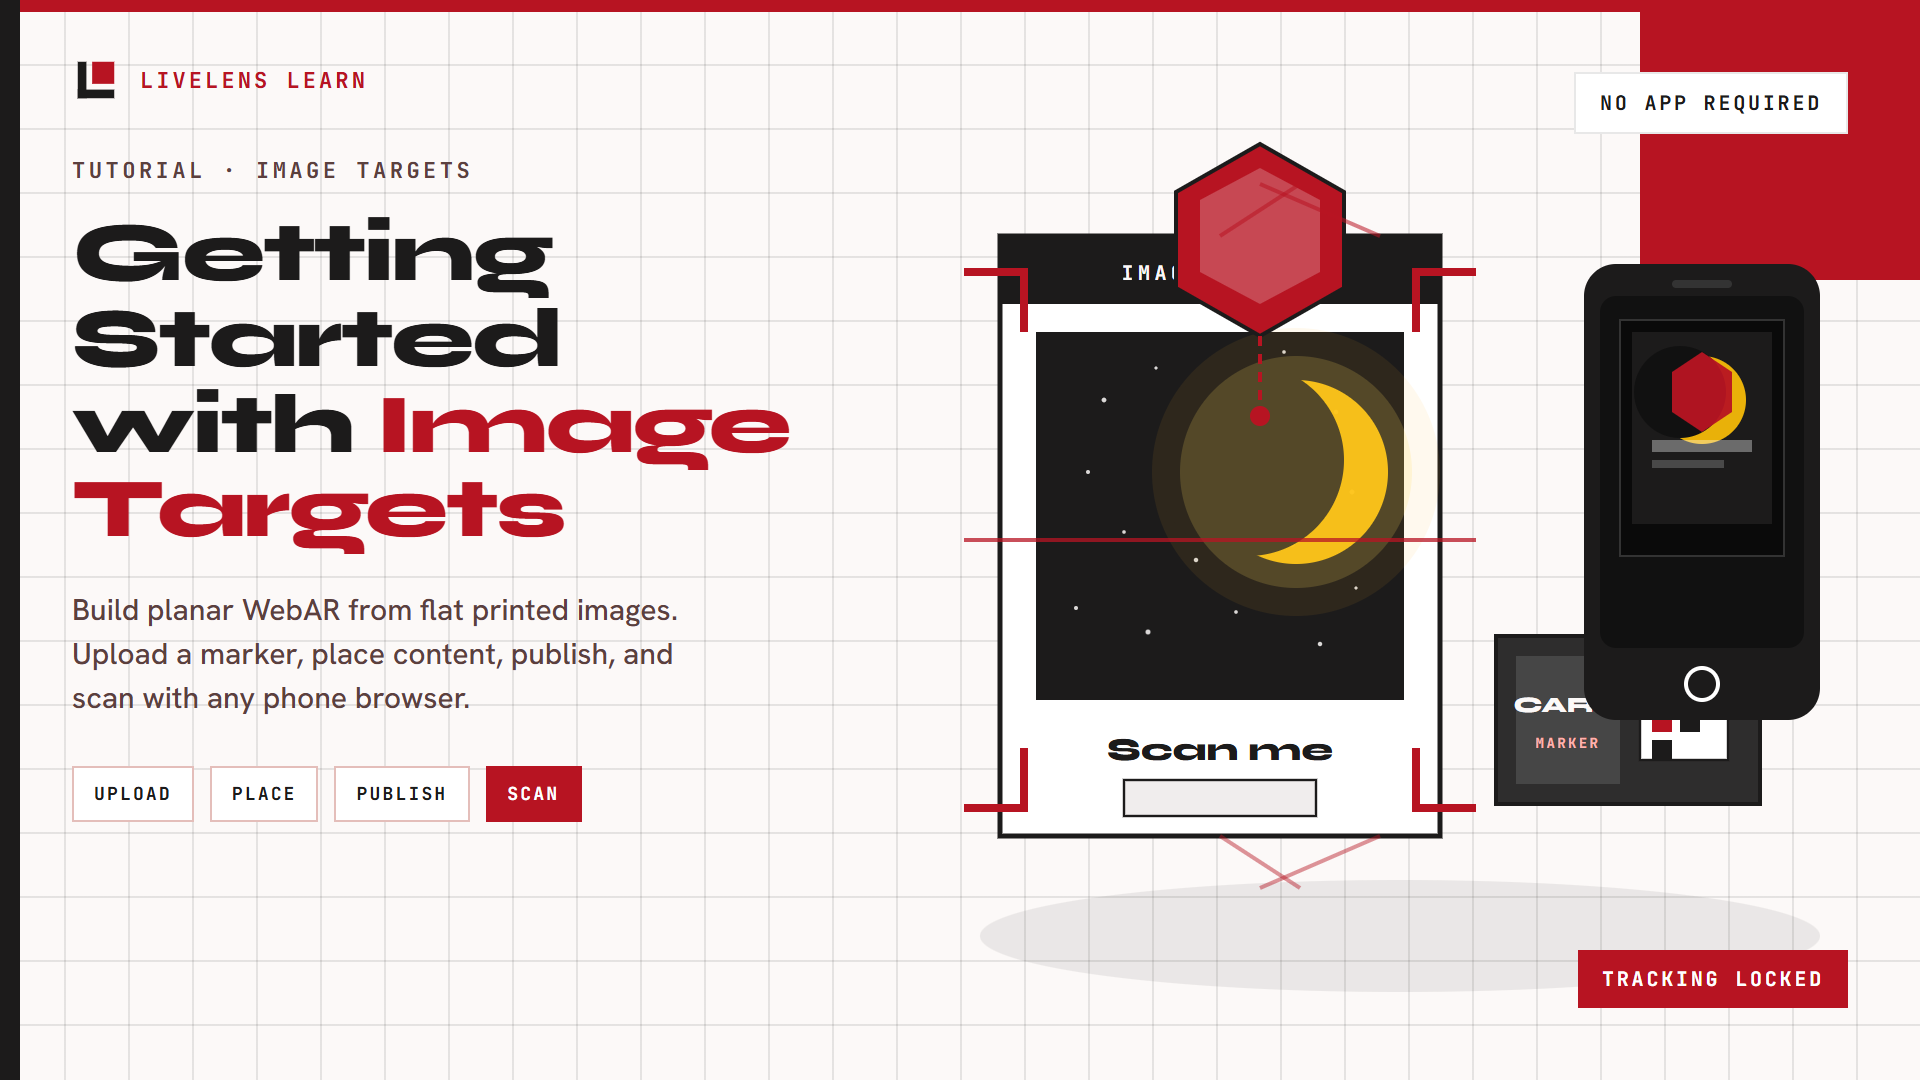
Getting started with image targets
Learn how to build Image Target AR in LiveLens, from choosing a surface and uploading a marker image to placing content, publishing, and scanning on a phone.
Getting Started with Image Targets
Learn how to build a planar Image Target AR experience in LiveLens, from uploading a marker image to placing content, publishing, and scanning it with a phone.
Image Targets let you bring flat printed images to life with augmented reality (AR). You can attach digital content to real-world surfaces such as posters, business cards, flyers, book covers, product labels, and printed artwork.
When someone scans the image with their phone, 3D models, videos, images, animations, or audio can appear directly on top of the printed image—all in their browser. No app download is required.
In LiveLens, an Image Target is a project. Inside each project, you can add one or more markers. Each marker is a different flat image that can trigger its own unique AR experience.
What can you create?
Planar Image Targets are designed for flat surfaces.
Some common examples include:
Posters and flyers
Business cards
Book covers
Magazine pages
Printed artwork
Flat product labels
Brochures
Menus
Certificates
Signs and displays
If the image is printed on a flat surface and can be clearly seen by the camera, it can be used as a potential Image Target.
How the Image Target Studio works
Creating a planar Image Target project is simple.
Go to Projects, create a new project, and choose Image Target.
You'll go through four easy steps:
1. Setup
Upload the flat images people will scan and let LiveLens prepare them for tracking.
2. Placement
Choose what should appear when each image is scanned, then position and resize your AR content.
3. Logic (Optional)
Decide if the experience should only work in certain places or during certain times.
4. Launch
Review everything, publish your project, and share it using a link or QR code.
Step 1: Add your markers
A marker is the flat image that people will scan.
For each marker you'll:
Upload the image.
Give it a name.
Save it.
LiveLens will then prepare the image for AR tracking.
You'll see one of these statuses:
Pending – Waiting to start.
Processing – Preparing the image.
Ready – Everything is good.
Needs Attention – Something went wrong and needs fixing.
Once a marker is Ready, you can use it to build your AR experience.
Using a planar surface
Planar tracking is designed for flat surfaces.
Examples include:
Posters attached to walls
Business cards placed on a table
Flyers
Book or magazine pages
Printed artwork
Flat product labels
Menus and brochures
When preparing your marker, use a clear image of the artwork you want people to scan.
For the best results, the image should be captured or uploaded as straight-on as possible, without unnecessary perspective distortion.
Uploading a good marker image
For the best tracking results:
Use JPG, PNG, or WEBP images.
Make sure the image is at least 480 × 640 pixels.
Use a sharp, high-quality image.
Avoid excessive compression.
Make sure the important details of the image are clearly visible.
The better the reference image, the easier it is for LiveLens to recognize it.
What makes a good tracking image?
Not every image is equally easy for AR to recognize.
LiveLens works best with images that contain plenty of unique visual details.
Good choices
Real photographs
Detailed artwork
Product designs with multiple visual elements
High-contrast images
Images with clear edges
Designs containing unique shapes, textures, or patterns
Avoid
Large blank areas
Very simple logos by themselves
Blurry images
Repeating patterns
Images with very little visual detail
Heavy reflections or glare
Tip: Matte printed materials generally provide better tracking conditions than highly reflective surfaces.
Using multiple markers
A single Image Target project can contain multiple markers.
For example, you could create a campaign containing:
Several promotional posters
Different business cards
Multiple magazine pages
A collection of product labels
Different pieces of printed artwork
Each marker can display completely different AR content.
For the best performance, try to keep active markers to around 10 or fewer.
Step 2: Add your AR content
After your marker is ready, it's time to decide what appears when someone scans it.
You can attach:
3D models
Images
Videos
Audio
Each marker can have different content.
For example:
A promotional poster can play a video.
A business card can display a 3D model and social media links.
A magazine page can show an interactive 3D object.
A printed artwork can reveal additional digital content.
Use the placement tools to:
Move content
Rotate it
Resize it
Change visibility
Adjust playback settings
Important: If a marker doesn't have any content attached, people can successfully scan it, but nothing will appear.
Step 3: Launch rules (Optional)
By default, anyone with your link can use the experience.
If needed, you can add restrictions.
Location
Only allow the experience in a specific place.
Schedule
Only allow the experience during certain dates or times.
These rules don't affect image recognition. They only control when people are allowed to access the experience.
Step 4: Publish and share
Before publishing, LiveLens checks that:
Your markers are ready.
Your markers have content attached.
Your launch settings are correct.
Once everything looks good, click Publish Project.
You'll receive:
A public link
A QR code
You can place the QR code alongside your printed material so visitors can quickly open the AR experience before scanning the image.
What your visitors see
Using your experience is simple.
They scan your QR code.
The experience opens in their phone's browser.
They allow camera access.
They point their camera at the printed image.
LiveLens recognizes the image.
Your AR content appears on top of it.
No app installation is required.
Packaging Labels
If your plan includes Packaging Labels, LiveLens can help you create printable labels designed for planar Image Target experiences.
A label can include:
The tracking image
A QR code that opens the experience
The label can then be printed and attached to a flat surface.
This makes it easy to create printed materials that are ready for WebAR.
Before you print
Before producing your printed materials, make sure you've completed these steps:
Upload a clear tracking image.
Wait until every marker says Ready.
Attach AR content to each marker.
Add any optional location or schedule rules.
Publish your project.
Test the experience on a real phone.
Confirm that the printed image can be tracked reliably.
Testing with the actual printed material is especially important because the final print quality, lighting, and surface can affect tracking.
Troubleshooting
My marker won't prepare
Try uploading a clearer JPG or PNG image and make sure it meets the minimum size requirements.
Also check that the image contains enough visual detail for tracking.
Tracking isn't very good
Try using a sharper image with more unique visual details.
You should also:
Reduce glare.
Avoid blurry prints.
Avoid repetitive patterns.
Make sure the entire image is visible to the camera.
Ensure the printed image is reasonably flat.
Nothing appears after scanning
Check that:
The marker is Ready.
Content has been attached.
The project has been published.
Any location or schedule rules aren't blocking access.
The camera can clearly see the entire marker.
I can't use certain features
Some LiveLens features may only be available on certain plans.
Check your current plan to see which Image Target features are available to you.
Summary
Planar Image Targets are one of the easiest ways to create WebAR experiences with LiveLens.
They let you turn everyday flat printed materials into interactive experiences.
Whether you're bringing a poster to life, creating an interactive business card, adding AR to a product label, or enhancing printed artwork, the process is simple:
Upload the flat image people will scan.
Wait for the marker to become ready.
Attach your AR content.
Publish the project.
Share the QR code.
Within minutes, your printed designs can become interactive experiences that anyone can access using just their phone's browser.