Getting Started with AI Studio
Learn how to generate 3D models from text or images in LiveLens AI Studio, then animate riggable characters for your AR experiences.
Getting Started with AI Studio
Learn how to generate 3D models from text or images in LiveLens AI Studio, then animate riggable characters for your AR experiences.
AI Studio is LiveLens Generate workspace. It turns prompts and reference photos into 3D assets you can place in Image Target and other AR projects. When animation is enabled on your plan, you can also rig finished models and apply biped motion presets.
Each generation or animation runs as a job. Jobs appear in the studio queue on the right. Select any job to preview it in the center stage.
Open AI Studio
Sign in to the creator app.
In the sidebar, open Generate (
/app/asset-generator).You land on AI Studio with the Generate workspace active.
If you do not see Generate in the sidebar, AI Studio may not be enabled on your account yet.
When Animate is available on your plan, you will also see an Animate tab next to Generate.
How the studio is laid out
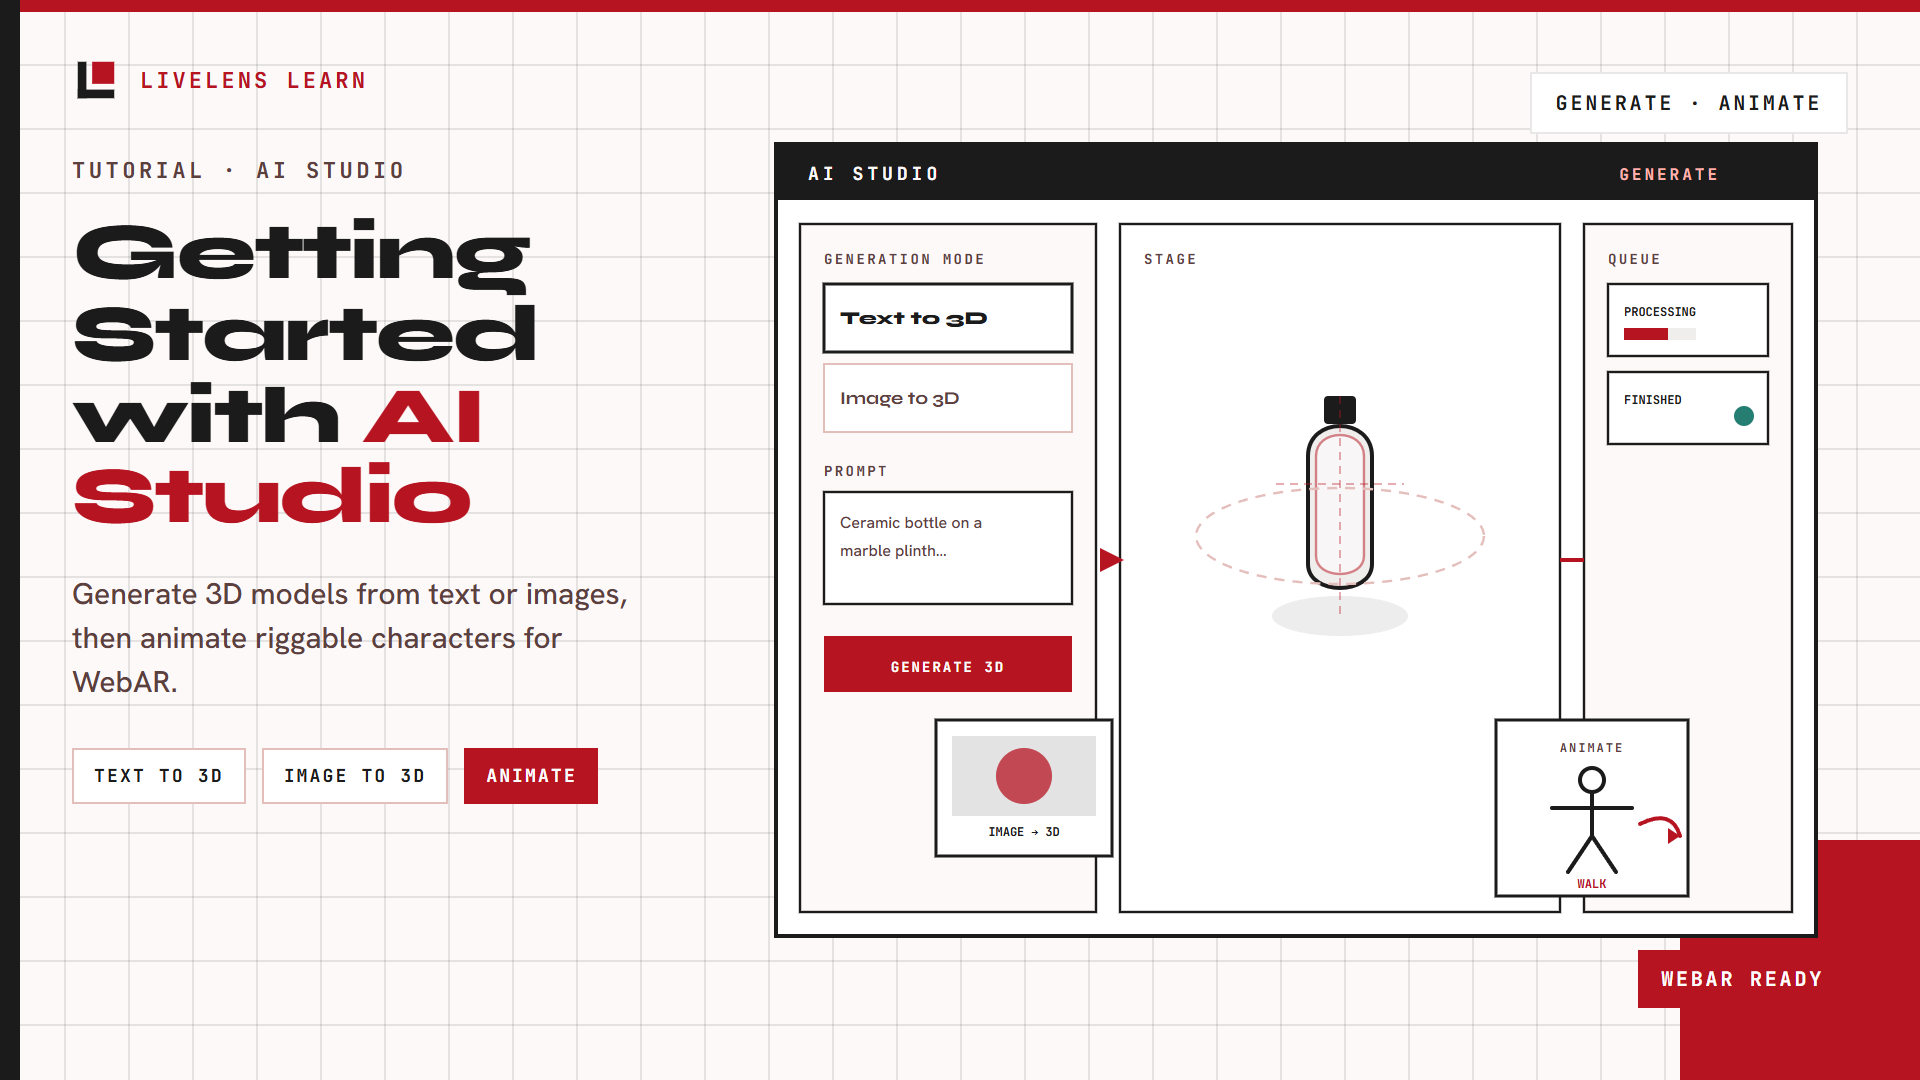
AI Studio uses three panels:
Left: inputs
Choose a generation mode, enter your prompt or upload a reference image, and set mesh options. Credit balance and estimated job cost appear at the bottom before you submit.
Center: stage
Preview the selected job. While a job is processing, the stage shows a materializing state. Finished 3D models appear in an interactive viewer you can orbit.
Right: job queue
Every job you submit is listed here with its status. Click a row to load that job in the stage. Finished 3D jobs from text or image generation may show an Animate action when animation is enabled.
AI credits
Generation and animation use AI credits.
Before you submit a job, AI Studio shows:
Your current balance
The estimated cost for this job
If the estimate exceeds your balance, the main button is disabled and you can Buy credits from Settings → Credits (/app/settings/credits).
Credit cost depends on the mode, mesh settings, texture quality, quad remeshing, and (for animation) how many presets you select.
Generation modes
Under Generation mode, pick one of:
ModeWhat it doesText to 3DBuilds a Tripo mesh from a written promptImage to 3DBuilds a Tripo mesh from a reference photoText to ImageCreates a 2D image with Gemini Imagen (optional on some plans)
This guide focuses on Text to 3D, Image to 3D, and Animate. Text to Image follows the same queue and credit pattern, but outputs a flat image instead of a GLB.
Text to 3D
Use this when you want to describe an object in words and receive a 3D model.
Steps
Stay on the Generate workspace.
Select Text to 3D.
In Prompt, describe the object you want. Be specific about shape, material, and context.
Example:
A ceramic bottle on a marble plinth, studio light.
Adjust Mesh parameters (see below).
Review credits, then click Generate 3D from text.
LiveLens queues the job and adds it to the queue. When the job finishes, the model is saved to your Assets library and can be attached to AR experiences.
Prompt tips
Name the object clearly (bottle, chair, robot, sneaker).
Mention material and finish (ceramic, matte plastic, brushed metal).
Add lighting or setting only when it helps the shape read (
studio light,on a plain pedestal).Keep one main subject per prompt for cleaner meshes.
Image to 3D
Use this when you already have a photo, render, or illustration and want a matching 3D model.
Steps
Select Image to 3D.
Click Upload reference and choose PNG, JPG, or WEBP.
Optionally enter an Asset name. If you leave it blank, LiveLens assigns a library name automatically.
Adjust Mesh parameters.
Click Generate 3D from image.
Reference image tips
Use a sharp, well lit photo with the subject clearly visible.
A straight-on or three-quarter view usually reconstructs better than extreme perspective.
Simple backgrounds help the model focus on the subject.
Avoid heavy blur, motion blur, or cluttered scenes.
To replace the image, click the upload area again or use Remove image before submitting.
Mesh parameters
These options apply to Text to 3D and Image to 3D.
Poly count
Controls mesh density:
Low – lighter file, faster in AR
Medium – balanced default
High – more detail, heavier file
The panel shows the approximate face count for your selection.
Texture
Off – untextured mesh
Standard – textured with moderate detail
Detailed – higher resolution textures
Quad
Off – triangular mesh (default)
On – quad-dominant topology when supported
Optimize for AR
When enabled (recommended for models you will place in LiveLens), LiveLens prepares a smaller Meshopt GLB after the model is ready. You may see an Optimizing for AR… status in the queue while this step runs.
Job statuses
Jobs move through statuses such as:
Queued – waiting to start
Processing – model is being generated
Optimizing for AR… – post-processing for WebAR (when enabled)
Finished / Ready – model is available
Failed / Cancelled – something went wrong
Select a finished job to preview it on the stage. Finished assets also appear in your Assets library for use in project editors.
Use generated models in AR
After a 3D job finishes:
Open the Image Target (or other) project where you want the model.
Go to the placement step for your marker.
Attach the new asset from your library.
Position, rotate, and scale it in the editor.
Publish when ready.
You do not need to download the file manually unless you want a local copy. LiveLens keeps the optimized GLB in your account.
Animate a 3D model
The Animate workspace turns a finished, riggable 3D model into an animated GLB with biped motion clips.
Animation is a separate pass. You animate an existing generation job, not a raw prompt.
Open Animate
In AI Studio, click the Animate tab.
Or, from the job queue on a finished text/image 3D job, choose Animate.
Step 1: Select a source model
The Source list shows finished 3D jobs that can be animated. Pick the model you want.
When you select a source, LiveLens automatically runs a prerig check to see whether the mesh looks riggable.
Step 2: Wait for the prerig check
Statuses you may see:
Checking model… – analysis in progress
Prerig ready – you can pick animation presets
Not riggable – animation would likely fail; try another model
Prerig failed – the check could not complete; retry or pick another source
Expand Best results for animation at the top of the panel for posing guidance.
Models that animate well
Prefer:
Humans, robots, or anime characters with four clear limbs
Arms in T-pose (straight out) or A-pose (~45° down)
Legs apart, not touching or crossed
Body facing the camera, standing straight
Simple, one-layer clothing
Avoid:
Arms glued to the body or legs fused together
Animals, large structures, or food
Heavy accessories (glasses, necklaces, bags)
Editing the mesh after rigging. Finish mesh work before you animate
Step 3: Choose animation presets
Under Presets, search and select up to 5 biped clips (walk, run, idle, and others from the Tripo catalog).
Each preset adds motion to the output. Credit estimate updates as you add presets.
Step 4: Set animation options
Animate in place – keeps the character rooted while locomotion clips play (useful for AR markers).
Optimize for AR – prepares a smaller Meshopt GLB after animation completes.
Step 5: Animate
When the model is riggable and at least one preset is selected, click Animate model.
The animation job appears in the queue. When it finishes, the animated asset is available in your library like any other 3D model.
Troubleshooting
Generate is missing from the sidebar
AI Studio may be disabled on your account or plan. Contact your admin or check your subscription.
The generate button stays disabled
Check that:
You entered a prompt (text modes) or uploaded a reference (image mode).
You have enough AI credits for the estimate.
The selected generation mode is enabled on your plan.
A job failed
Try again with a simpler prompt or a clearer reference image. Lower poly count or standard texture can also reduce failure rates on complex subjects.
AR optimization seems stuck
Optimization runs after the main job completes. Wait for the queue to settle. If it fails, the base model may still be usable; try toggling Optimize for AR off on the next run if you need a quick preview.
Animate says “Not riggable”
The mesh is not a good fit for biped rigging. Regenerate with a humanoid subject in T-pose or A-pose, or pick a different finished job.
Animation finished but I see no motion in AR
Confirm you attached the animated asset (the animate job output), not the original static model. Replay the experience and check that autoplay or interaction settings in your project allow the clip to run.
I cannot use Animate
The Animate tab and queue actions only appear when AI 3D animation is enabled for your plan.
Summary
AI Studio gives you a fast path from idea to 3D asset:
Open Generate in the sidebar.
Choose Text to 3D or Image to 3D.
Set mesh and AR options.
Submit the job and wait for Finished.
Attach the asset from your library to an AR experience.
Optionally switch to Animate, pass the prerig check, pick presets, and submit an animation job.
Within a few minutes you can go from a sentence or a photo to a WebAR-ready model, and from a static character to a walking, running, or idle animation, all inside the browser.